HOW IT WORKS:
1. PREPARATION:
Cover work surface and clothing.
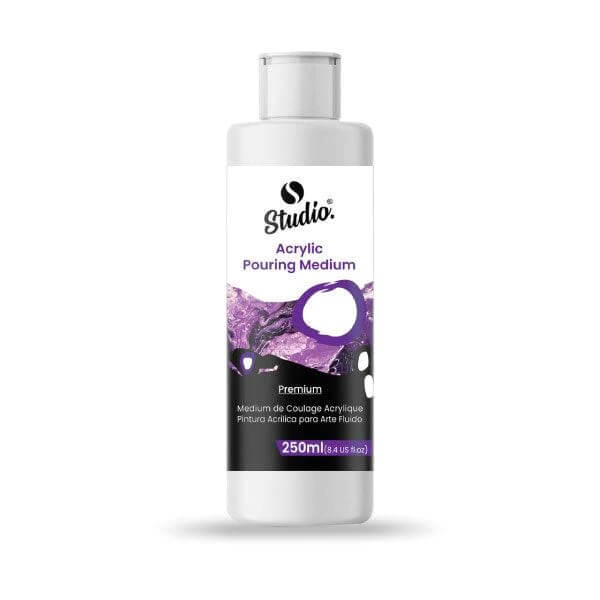
Shake the Pouring Fluid well before use.
Get the materials, acrylic paint and Pouring Fluid ready.
2. MIXING
Pour each acrylic paint into a separate cup.
Add several parts of Pouring Fluid to the paint.
Use a palette knife or spatula to stir the mixture very well until a homogeneous substance has been created.
If necessary, add Pouring Fluid or acrylic paint and mix again until the desired consistency has been achieved.
Mix a large quantity of either white or black paint with Pouring Fluid as these colours are often used for the background.
3. THE TECHNIQUES
a) DIRTY POUR
Pour the paints into a cup. Start with the background colour (generally white or black). Mix slowly and gently with a palette knife/spatula. Add a base coat to the canvas. Now pour the mixing cup onto the background. Then move the background backwards and forwards until the desired result has been achieved.
b) FLIP CUP
Pour the paints into a cup. Start with the background colour (generally white or black). Mix slowly and gently with a palette knife/spatula. Place the background on top of the mixing cup and quickly flip both over. Wait a moment until the paint in the cup has run down onto the background. Add a base coat to the canvas around the mixing cup (see tips). Slowly lift the cup. Then move the background backwards and forwards until the desired result has been achieved. Use multiple Flip Cups for large backgrounds.
c) PUDDLE POUR
Pour the paints onto the background separately and do not mix. Start with one paint colour and, one after another, pour the other paints onto the previous colour paint. This creates a paint splodge with different coloured rings. Add a base coat to the canvas around the paint splodge. Tip the background and leave the pattern to develop. You can also pour multiple paint splodges onto one canvas.
d) SWIRL
Pour the paints into a cup. Add a base coat to the canvas. Now pour the contents of the mixing cup onto the background, using a small circular motion. Then tip the canvas frame backwards and forwards until the desired result has been achieved.
e) SWIPE
Pour the paints onto the canvas individually or using another pouring technique. Apply a body colour (often black or white) at the edge. Then, use a palette knife, spatula or damp paper towel to slide or swipe this paint over the other colour. This creates a great cell effect and a lovely net structure.


